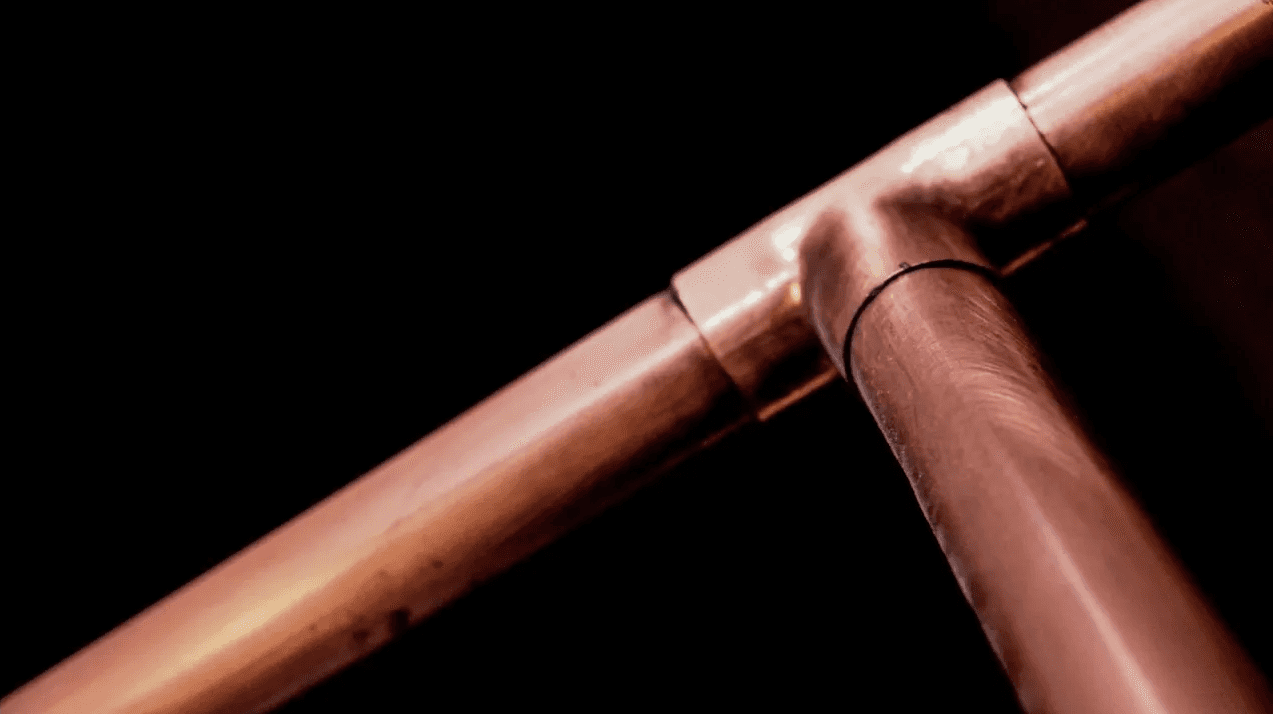
Soldering is a common way to join two pieces of copper piping, but what should you do when you remove the solder?
This guide will show you how to remove solder from copper pipe. Be careful – this process can be dangerous if done incorrectly. Always consult a professional if you are unsure about how to proceed.
With the right tools and techniques, however, you can easily remove solder from copper pipe without causing any damage. Let's get started!
Why Remove Solder From Copper Pipe?
You might need to remove solder from copper pipe for a few reasons. Maybe you're replacing an old section of pipe and need to remove the old solder before adding new solder. Or, you accidentally soldered two pieces of pipe together and need to start over.
A leaky pipe can also be a good reason to remove solder. If you have a small leak in your copper piping, removing the old solder and applying a new one rather than trying to repair the leak might be easier. This method is not always successful, but it's worth a try if you're struggling to fix a leaky pipe.
Removing solder from a copper pipe is not difficult, but it does require some care and attention. Be sure to follow the steps below carefully to avoid damaging your pipes.
What You'll Need
Before you begin, gather the following materials:
- A soldering torch
- A wet rag
- A pair of pliers
- A wire brush
- Sandpaper
- A clean cloth
Instructions
Begin by heating the area around the solder with your soldering torch or heat gun. You want the area hot enough to melt the solder, but be careful not to overheat the pipe. If the pipe gets too hot, it could warp or melt.
Once the area is heated, use your wet rag to cool the pipe down. This will help to prevent the solder from melting too quickly.
Use your pliers to grip the end of the copper pipe. Apply pressure and twist the pipe back and forth until the solder loosens.
Once the solder is loose, use your wire brush to remove residual solder from the pipe. Be sure to brush in the same direction as the metal's grain.
If stubborn pieces of solder remain, you can remove them with sandpaper. Just be careful not to damage the pipe in the process.
Once the solder has been removed, use a clean cloth to wipe down the pipe and remove any debris.
And that's it! You've successfully removed the solder from the copper pipe. Wasn't that easy? Just take your time and follow the steps carefully, and you'll be soldering like a pro in no time.
Myths and Misconceptions
There are a few myths and misconceptions about removing solder from copper pipes. Let's debunk some of the most common ones:
Myth: You need to use acid to remove solder from copper pipe.
This is not true! Acid can damage your pipes, so it's best to avoid it altogether. Stick to the methods outlined above, and you can remove solder without any problems.
Myth: You must use a soldering torch to remove solder from copper pipe.
Again, this is not true! You can use various methods to remove solder, including a soldering iron, a heat gun, or a hair dryer. Just be careful not to overheat the pipe.
Myth: You must use special tools to remove solder from copper pipe.
Nope! You only need essential household items, like a soldering torch, pliers, and a wire brush. With these simple tools, you can remove solder from copper pipe like a pro.
Wrapping Up
We hope this article has taught you how to remove solder from copper pipes. Be careful when using any heat on the pipe, as too much heat can damage it. Thanks for reading! If you need help with plumbing, contact us!


